
Readers may have noticed most of my freight cars go through a few phases as they progress from parts in a kit box to layout use with a weathered patina. These construction phases are common for many prototype modelers as we customize basic freight car kits, or ready-to-run models (RTR), in order to reflect a specific prototype or era. Let’s take a look at these phases.
The first step is the purchase. We are often excited about the potential a new model will hold in our freight car fleet. Of course, many of us purchase a few cars at a time, but we will only refer to a singular freight car kit for this discussion.

The next phase is a review of the kit parts. The box is opened on the workbench and major pieces are carefully removed for inspection. A cursory review of the instructions may be performed, but our attention is drawn to That New Thing sitting on our workbench. At this point, many of us will repack the parts and instructions, close up the box, and file it away with dozens of other freight car kits in the closet. But at some point, the box returns to the workbench for the next phase.

Building the kit can depend upon modifications required, based on a prototype image. Several Accurail USRA double-sheathed box cars came into service on the Wheeling Freight Terminal in 2015. Each car received a few upgrades.
- KC brake system
- Brake levers and rods
- Upper grab iron removed from left side
- Grab irons on lateral running boards
- Retainer line
Many resin kits require knowledge of specific hardware to model prototype practices in a specific era. Some build phases finish quickly while others can take a while. Once trucks and couplers are installed on a freight car, I typically put it into service to determine if adjustments are necessary.

After a freight car model is performing well in service, the trucks are removed and the model is given a thorough cleaning as prep for the paint booth. I try to build a few freight cars at a time that will all need the same paint color, or a slight variant of the same color. Work is minimized when a few cars can roll through the paint booth with no color changes in the airbrush. After being painted, the models are given a few days to completely dry. A gloss coat is sprayed onto each model as a last step to prep for the decal work.

Decal techniques were posted to the blog recently. The majority of my 1926 freight car fleet requires decal work. Some RTR cars need a proper reweigh location, date, and weight data, while many others emerge from the paint booth in need of full lettering. I do find decal work tedious but end up in a productive groove. A couple afternoons of work can produce a few fully lettered cars. Once the decals have dried, the models receive another gloss coat to seal the work.

I find the weathering process to be relaxing as models are transformed from a new look to one that reflects time and miles in service. Here are my current steps.
- Apply a flat coat to prep surface for weathering
- Daub rubber cement onto the reweigh data to protect the area from weathering
- Repaint running board sections a new wood or light gray color to represent unpainted replacements
- Apply a light wash of tan or light cray color to fade the base color
- Apply PanPastels shades to represent dust, dirt, and grime
- Apply PanPastel shade to represent a decent coat of soot
- Carefully rub away the rubber cement from the reweigh data on the car side
- Add chalk marks using a light gray color pencil
- Add bits of paper to appropriate spots as remnants of shipping tags
Not every freight car will receive the exact same steps in the process and the wash or PanPastel intensity will vary. Some of these steps have been added to my processes over a few years of weathering cars to imitate the layers that accumulate over the years on a prototype.

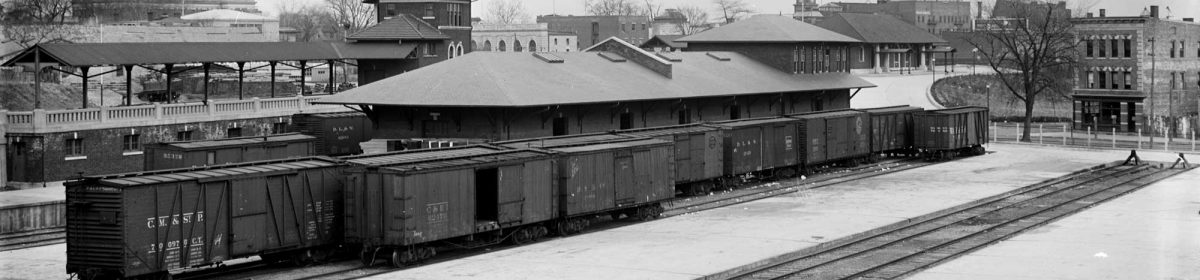
The final step moves the finished freight car models from the workbench to join the rest of the fleet on the layout. It seems like a long journey when the processes are summarized for one car. I usually have a few cars rolling through each step and when a few are added to my small layout, the look of the railroad changes with the new additions.
Feel free to share a comment in the section below. Please follow the instructions so your comment can be posted. All comments are reviewed and approved before they appear. To subscribe to this blog, enter your info for a comment and check the last box to notify of new posts by email.
What a clever idea to operate cars still in process. I think it must inspire you to think about how you will weather them and otherwise age them.
Thanks, Bill! A couple of newly built freight cars add to the operating sessions. The early in-service time allows problems to be identified. Modifications can be done easily without affecting the finish. I do start thinking about the weathering processes at an early point, but usually after the models are painted. Using these among the rest of the weathered fleet gives me some ideas on color and intensity. – Eric
Hi Eric,
I am going to rethink how I’ve put cars into service in the past. I never thought to run them unpainted, etc to test for “bugs”. Great idea! Somehow I thought it wasn’t “right”.
What are you using in the photo where the walls are braced(I assume waiting for the glue to dry)?
Resin kit question: are the walls true or does one have to true them on a sanding block?
Thank you, Shawn