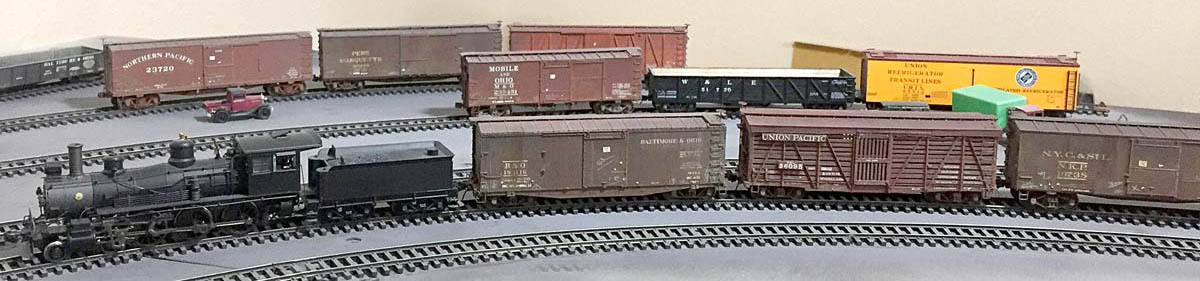

This sounds pretty simple, right? I mean, you just turn the screw until it’s tight and then turn it back a quarter or a half turn so the truck pivots and rocks side to side. Sure, that is the way I had installed freight car trucks for years until a truck wouldn’t pivot well or I stripped out the threads in the hole.
There was another factor I noticed with many kits. Some freight car kits had a kingpin boss on the car bolster for the truck bolster to fit over before you insert the screw and tighten it down. That kingpin boss acts as a stop for the screw so the truck isn’t pinned to the bolster but can pivot easily. Many resin kits do not have this feature. Neither do some models by Red Caboose, Intermountain, and others.

Years ago I read about a tip to add a short piece of tubing over the screw that fits inside the hole in the truck bolster and can act as the stop for the screw. I’ve shared this with many folks and it seems like a new idea every time this tip is demonstrated. First, don’t worry about getting tubing and cutting it to length. If you are any sort of certifiable hobby pack rat (like me) you already have something stashed away for this task. Here it is.

This is a sprue of Kadee #5 coupler boxes and we want to harvest that tube-like piece on the lid. After removing the part from the sprue, I use a sharp, single edge razor blade to carefully slice this piece off flush with the lid.

Once it is free of the lid, check for a smooth slice and remove any odd burrs. Slip this over a 2-56 screw and then check the fit in the bolster of a freight car truck. This plastic sleeve needs to fit easily. If it won’t fit or is tight, then use a round jeweler’s file to open up the truck bolster hole. Once it fits fine, then mount the truck on the freight car.


Carefully turn the screw until it stops. Make sure the truck can pivot freely and that it can rock in both directions, side to side and back and forth. You may need to loosen the screw slightly. At this time, check for any underframe parts that are rubbing the wheel treads. Use a sharp blade to remove portions of detail that interfere with the wheel treads.
Repeat those steps for the other truck and you should have a freight car that will give you solid service.
But that’s not all!
There is another use for that Kadee #5 coupler box lid. Some freight cars sit very low. Traditionally we use a Kadee washer when we install a truck to raise the height to meet the coupler gauge. One recently built car still sat low after two washers were installed. I used some styrene pieces to check the height difference and then found it was the same thickness as the coupler box lid. So I crafted one of the lids into a washer to raise the car to the proper height.

The modified coupler box lid worked great, plus it provided the kingpin boss. Check through your pile of saved Kadee coupler boxes and use them as parts to improve freight car truck installation.
Feel free to share a comment in the section below. Please follow the instructions so your comment can be posted. All comments are reviewed and approved before they appear. To subscribe to this blog, enter your info for a comment and check the last box to notify of new posts by email.
Years ago, Kar-Line model RR products located in East Aurora, NY, would put two small brass pieces of tubing in their custom painted car kits, usually Athearn bodies or MDC Roundhouse bodies. Also included in each kit was a pair of free rolling non-magnetic metal wheel sets in the kit trucks. That is when I first became aware of this trick in building kits. Too bad that the company has been out of production since the late 1980’s.
Thanks for the comment, William. Kar-Line was a little ahead of the game with a few of their models. – Eric
Eric:
What an easy solution to that problem.
Question: Is the upside down F&C flat a PRR FM or BnO ‘FM’ copy? I have one in kit form right now.
John H.
Yes it is, John! The PRR FM and B&O P-11 class flat cars at the same. The Pennsy controlled the B&O back in the 1900-1905 period and several PRR freight car designs were added to the B&O fleet. This flat car is one of them. The F&C kit is a nice started for resin kit building. I added strips of lead sheet to the underframe for weight and did not install the brake system detail. The finished car sat very low until I used the Kadee coupler box lid as a washer. – Eric
Mr. Hansmann: I use 2-56 Flat-head screws to mount trucks. The taper from threads to top provides all the ability to rock from side to side that a truck needs. I have been in the hobby over 80 years.
Very nice tip. Useful.