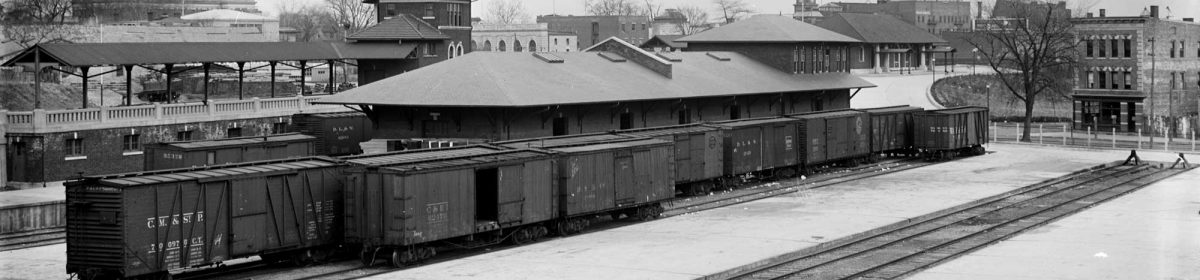
Dave Parker has been busy upgrading a few Accurail 36-foot boxcar models, adding details to reflect specific prototype practices. Here’s Dave with the details.
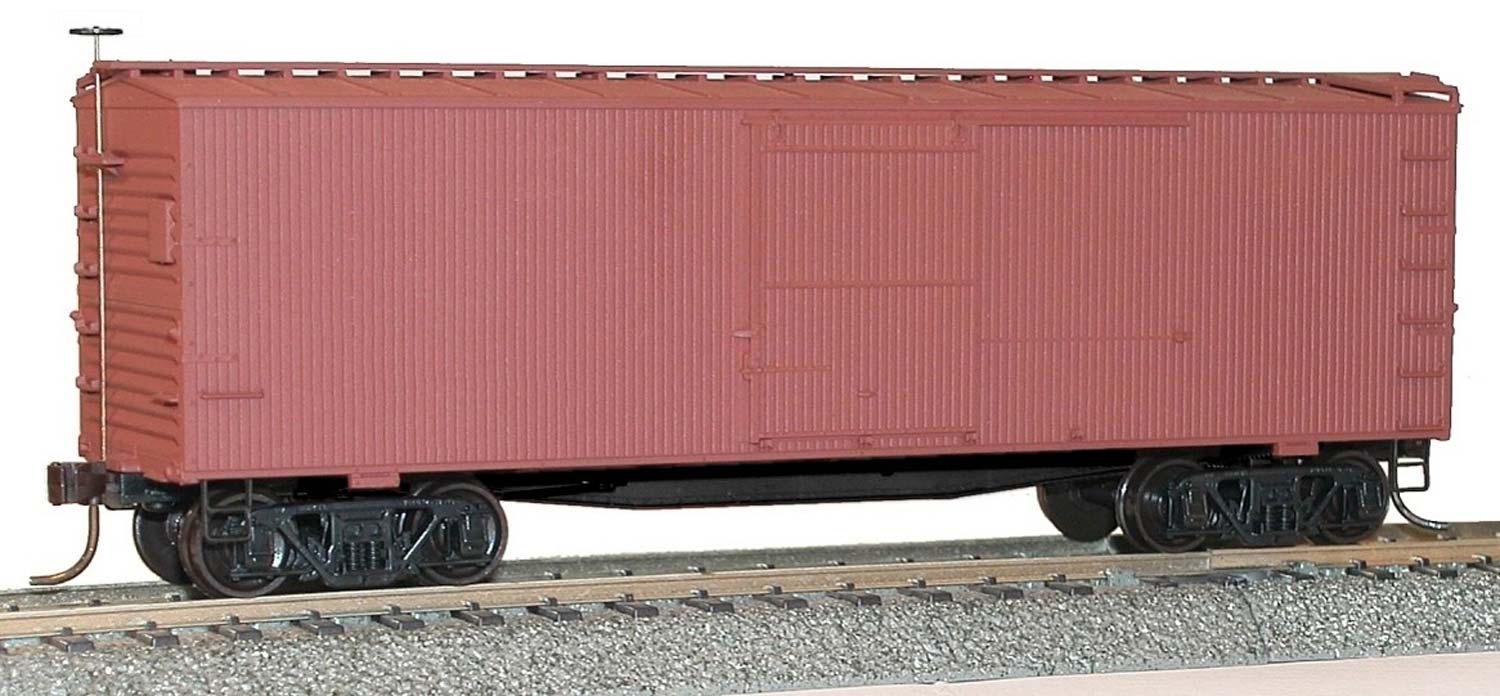
For fleet-building purposes, I like the Accurail shorties well enough but, when I considered seeing three or four of them strung together on a layout, I thought “boring!” Yes, there can be some variation in the trucks, and in the center-sill (straight vs fishbelly) but, when viewed broadside, they are otherwise identical.
One solution might be the gussets or reinforcing straps at the car corners. These should be quite different on the metal-end cars but, due to production constraints, they are not, and they follow the wood-end prototype. I thought about modifying these, but the proximity to the molded-on grabs gave me pause.
I started thinking about other ways that these cars could be made unique for various roads, and I ended up focusing on the door hardware. I wanted to build these cars for four northeastern roads: the NYC, DL&W, Boston and Albany, and the Rutland. I had builder’s photos for all four that show that the basic door hardware was the same – they all had top-hung Camel doors, as does the model. The variation arises from different arrangements in the door stiffeners, door stops, and chafing strips that prevent the door from abrading the siding. The following photos highlight these details, and how I modeled them.
Before diving into the upgrades, let’s review the car end and roof hardware. The Accurail models come with a Murphy XLA roof and either a wood or a replacement metal (Murphy “innie”) end. A few of the shorties were built with this roof, but many more originally had either Hutchins or wooden (probably inside metal) roofs. I tried to choose prototypes for which the Murphy would (or at least could) be correct, as follows.
⦁ Rutland 7000 series: originally built with Hutchins rood in 1912, but I have a ~1931 photo clearly showing a replacement Murphy roof along with the original wood ends.
⦁ B&A 35000 series: originally built in 1912 with Hutchins roofs. Many were rebuilt in the 1920s with Murphy roofs and steel ends, but also ladders which don’t match the model. I have no photographic evidence, but I have assumed that many of the cars that retained their wood ends into the 1930s (~20% of the total) would have needed a new roof, making the Murphy appropriate (perhaps).
⦁ DL&W 43500 series: built new with Murphy roofs and ends in 1922
⦁ NYC 257000 series: built in 1912 but rebuilt with Murphy roofs and ends in 1922.
After researching the prototypes to decide what to model, it was time to upgrade the details.

Unneeded door stiffeners and chafing strips were carefully removed with an X-Acto #17 chisel blade and the V-grooves in the siding cleaned out with a dental pick. Use a new sharp blade to ease detail removal. Take your time using controlled effort and watch your fingers. Avoid placing fingers opposite the work where an errant blade may land.

New stiffeners and chafing strips were added using very thin strips of K-Tape (Custom Shop Fine-Line Poly Series tape, available through Amazon) that is 0.004” thick. The adhesive on this tape was enough to affix these strips, although in few places I discouraged “creep” with very small applications of CA. I use the quarter-inch wide tape and simply tape a strip to piece of thin styrene sheet, then use a standard X-Acto blade and a steel rule to cut the thin strips, eyeballing the width.

The lower door stop was carefully harvested from the NYC car and re-purposed as the second stop on the B&A car. Similarly, the stop at the end of the door track on the B&A car was harvested and reused as the closed-door stop on the DL&W car.

The NYC cars had a full-length wooden post for a door stop that was backed by a metal stop about 2/3 of the way up. The post was fashioned from basswood, while the stop can be from either the Tichy 3017 detail set or the Grandt Line 5207 set (I used one from each).

All four models began as Accurail undecorated and unpainted kits. My experience thus far with Vallejo acrylics is that they benefit from a primer coat. I used Vallejo’s polyurethane-acrylic primer: Grey for the NYC car, and German Red Brown for the other three. For the DL&W car, I liked the primer well enough as a generic freight car red (FCR) color, and simply stayed with that color. The other three cars were painted with my best guess at a NYCL brown.

The NYC car represented something of an experiment in “pre-weathering” techniques, including the use of Vallejo Chipping Medium. My goal there was to achieve the well-worn look of a ~12-year-old paint job, while the other three cars represent newer paint for my 1934-35 layout.

I created the decal art and printed them using an HP Laser Jet equipped with a white toner cartridge (Ghost brand). In several cases, I created slightly different paint patches under the reweigh and repack stencils using acrylic-painted decal paper (a new trick for me). Most of the NYC decals were printed in gray rather than white (or black) to help achieve a more faded look before heading into the weathering shop.

As per usual, the kits came with Accurail’s Andrews truck, which is almost never appropriate for these 36-foot cars. Based on the builder’s photos, the NYC and Rutland cars received Kadee #1571 early L-section Andrews trucks.
The B&A and DL&W cars were fitted with old pairs of Walthers rigid T-section Bettendorf trucks (#1009), but upgraded with Reboxx semi-scale wheel-sets. I prefer not to use sprung trucks and would have used the Kadee T-section Bettendorf trucks that were recently released in their upgraded HGS material, but I had a few old Walthers trucks on hand.
Taking the time to add and alter a few small details sets these models apart from the out-of-the box appearance.
I thank Dave Parker for sharing several examples of his fine work. I needed motivation to push a few Accurail shorties along with prototype inspired details
Thanks for visiting the blog. You can share a comment in the section below. Follow the instructions so your comment can be posted. All comments are reviewed and approved before they appear. Please share the blog link with other model railroaders. To subscribe to this blog, add your email address to the function at the bottom of the right column on the main page.
I love seeing attention paid to the small details of the door area since there are usually details that will vary from RR to RR. I have never of heard of “K-tape” and appreciate seeing new materials used for modeling. Kudos to Dave for sharing his skills with other modelers.