
Building a model railroad involves assembling track components into a design that meets a desire to operate or follow a prototype location. In many cases, three-foot sections of flexible track are joined together, or joined to track switches, as the mainline is installed. Often a tie or two is clipped from the track ends in order to connect the pieces with rail joiners. Installation proceeds and eventually the completed track is tested with a few freight cars and a locomotive before it is deemed complete.
But the track is not complete. All along the right-of-way there are wide gaps of missing ties where track sections connect. Filling these gaps will make your railroad look better with just a little extra effort, especially if you saved those ties that were previously clipped off of the ends of the track components.

First, determine how many ties are needed to fill the gap. Try to keep tie spacing similar to the rest of the track. Next, remove the cast-on spike and tie plate detail using carefully controlled movements with a sharp blade. An X-Acto chisel blade or a single-edge razor blade works well, especially if it is a new blade. Please use caution, use controlled movements, and watch where you place your fingers in relation to the sharp blade.
When removing these details, create a shallow divot where the details were. Removing the details flush with the top of the tie isn’t enough in most cases. These gap fillers will be used where the rail joiners connect components. A divot on the gap filling ties will accommodate the rail joiner thickness, otherwise each track connection will be pushed up a fraction and could affect operating performance.

Once a few ties are prepped, carefully slide one into place so you see how it fits. It will be a tight fit but once the tie is in place, it should move left or right along the rails. It the tie does not move easily then the divot needs to be a little deeper. You will get the hang of this once a couple of ties are done properly.

To install the ties, apply a little yellow glue to the roadbed just inside of the rail. Slide each tie into place and position each of them with a pair of tweezers, and X-Acto knife blade, or a set of needle nose pliers. Sliding the ties into place spreads the glue across the gap. Use a metal straightedge to align the ends of the ties with those ties on each side of the gap. Keep a scrap piece of stripwood handy to remove any glue that has ended up on the rails, as glue is not needed there.

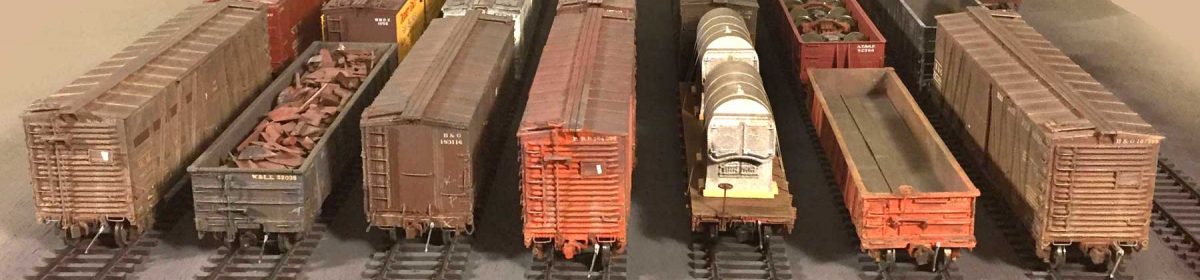
Your track can be painted and/or ballasted after the glue dries. Here’s how the gaps look on the B&O Wheeling Freight Terminal after painting. Can you find the four gaps in this image? Click on the picture for a larger view.

I welcome your comments. All comments are reviewed and approved before they appear.
Eric, nice track tip.
Thanks
Wayne
Western Reserve Free-Mo
Great article, I really enjoy reading your blog. I am actually curious if I could get in touch with someone and potentially do a guest post? I am a model train enthusiast and a freelance writer. I would like to write about the future technology of model trains and what that means for us builders. Please send me an email and we can discuss details. I look forward to hearing from you. Thank you,
Bruce
Good work, Eric.