With all the layout sections back on their legs and bolted together, it was time to connect the wiring. Two wires connect one section to another via a Euro-style nylon barrier strip. The lead photo shows how wires from an adjacent section are about to be connected to the barrier strip.
I worked on the layout over this past weekend and completed the electrical wiring on the yard throat module. While surveying the work, I realized I had not made much progress in the last 4.5 months. Of course, I do consider wiring to be sheer drudgery, yet it is a necessary evil to complete in order to make the trains go. I guess I’ve just been avoiding this work as the fun factor is quite low. It’s a basic human trait to avoid the stuff we don’t like to do.
A terminal strip is used for multiple connections.
Over just a few days, I’ve completed the following tasks on the yard throat module.
installed feeder wires on four tracks
spray painted the rail and ties
installed leads on seven SPDT momentary contact switches to control the frog polarity
attached all feeder wires to the appropriate buss wires
One view of the module surface.
Successful completion of this work inspires and motivates me to keep moving forward. This is how my hobby ebbs and flows. I’ve rarely achieved a straight line progression in task completion. There are often bursts of activity followed by a quiet stretch. At this point, only one module remains to be electrically completed. I hope to wrap that one up in the next week as the B&O Wheeling Freight Terminal project moves closer to operation.
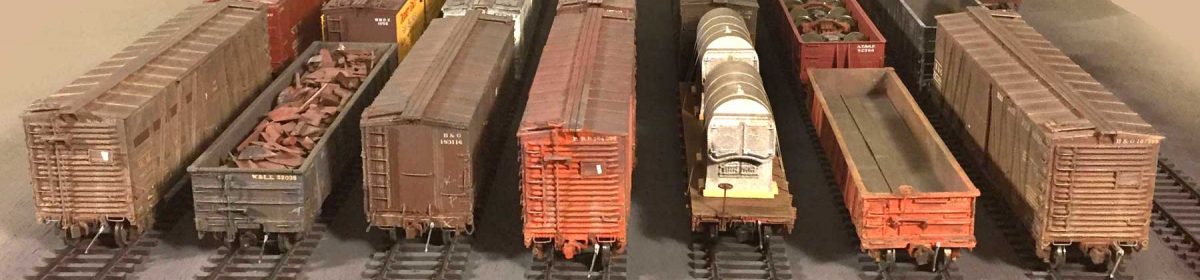
Everything looks a little better with a few freight cars.
I welcome your comments. All comments are reviewed and approved before they appear here.