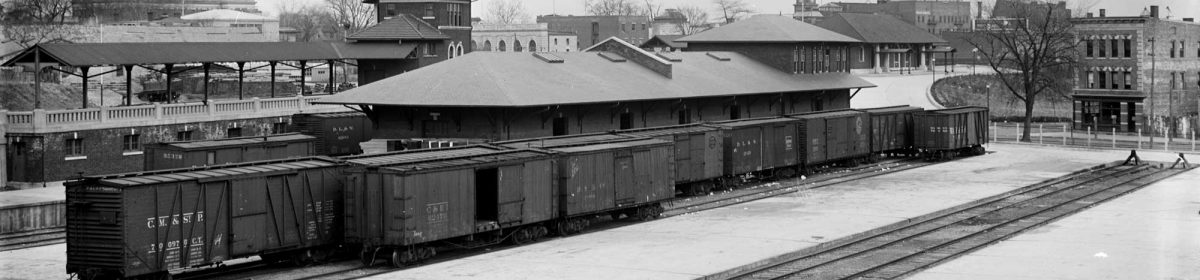

Fellow Pre-Depression Era modeler and long time friend Dave Campbell shared an update on his new layout. The lead image was a selfie I snapped on a 2017 visit to his multi-level HO scale layout, which is now gone. Here’s Dave with his new layout story.
With the decision made to tear down my old, multi-level, four-times-around-the-room HO scale layout, and at the 70% demolition point, I decided it’s time to start developing the new layout plan. There’s nothing like waiting until the old layout is nearly gone to light the creative fire for the next project.
I’ve chosen the Minster branch of the Nickel Plate Road, circa 1928. I have set a few guidelines for this new project.
⦁ Keep it simple
⦁ Everything on one level with a minimum of moving parts
⦁ Can be operated alone or with one or two guests
⦁ Reuse as much of the old layout lumber as possible, including three rollout sections that once closed the gap across the garage door
⦁ Keep it light weight as I can no longer handle full plywood sheets by myself
⦁ Build standardized modules to simplify construction and shorten the build
⦁ Constantly remind myself that I’m NOT building furniture here as fascia will masque my benchwork craftsmanship
The recycled lumber has determined how I’ll build the new benchwork. The old layout was essentially a shelf layout six scale miles long with half-inch plywood subroadbed. I’ve kept the plywood and am ripping it into three-inch strips. I have a lot of 2×4’s that were the helix framework which will be ripped into thinner boards. The basic module size for the new layout will be a 2×4 foot rectangular frame with the front and rear made from half-inch plywood four joists.

I estimate I’ll need fifteen modules: ten rectangles and five requiring end angles.

Here’s the first complete module attached to one of the rollout units from the previous layout.
As per suggestions from online friends with lots of layout building experience (names withheld to protect the guilty), I’ll install two layers of 5/8ths-inch ceiling tile over the frame. The overall rail height above the floor will be 51-inches. I had considered 53-inches, but a visit from one of my operators (who is a bit vertically challenged) convinced me to lower the level.

Because the Ohio topography I’m modeling is basically flat, I don’t anticipate adding cuts and fills to the right-of-way. I plan to have two small water courses and the ceiling tile should give me the depth I need.

Here’s a Google Street View screen shot of the terrain adjacent to Kopp’s Creek in western Ohio that inspires much of the scenery on the new layout.

My available layout space hasn’t changed. I’m still stuck with my 19×19-foot garage and my long-suffering bride insists on keeping the car in the garage. Here’s my take on how I can best use the available space. The red module outlines are the roll-out sections reused from the old layout. In the upper corner I’ll build a lift-out section to maintain access to the door into the house. The track diagram approximates the main line so I can evaluate basic alignments and curve radii.

Finally, here’s how the layout pieces can move when I roll them out of the way and park the car. The car is outlined in purple. I really hope my lovely wife will not want a larger car.
I know the moving parts introduce layout complexity. While I might wish otherwise, the rollouts are necessary for the running length I need. At least this design limits connections to only five joints where tracks cross from fixed to removable layout modules. My old layout was multiple levels with the roll out sections. There were twenty-eight joints to align, fasten, and check before I could turn on the track power! I am hoping the new layout will be a snap to set up and take down.
I think I can complete about one module per day to push progress along. I hope to have nearly all of the basic benchwork in place before the serious hot southern Arizona weather arrives. Eric welcomes my layout progress tales, to I’ll prepare another update in the next few months.
Thank you, Dave Campbell, for sharing your new layout plans and dreams. I’m looking forward to your upcoming progress reports!
Thank you for visiting my blog. You can share a comment in the section below. Follow the instructions so your comment can be posted. All comments are reviewed and approved before they appear. Please share the blog link with other model railroaders. To subscribe to this blog, add your email address to the function at the bottom of the right column on the main page.
I am curious to see what the final plan looks like when the additional industry and secondary trackage is added. I would suggest simplifying the trackwork on the removable section by the house door. On my layout, I used a simple drop down hinged section with just a pair of tracks on it and so far track alignment has not been a problem. Removable panels, especially in a corner, can be cumbersome to store when not in use and track alignment can be an issue especially when a damp condition or shrinkage of the wood occurs.
Thanks for the comments, Jim. While my current plan is for the lift-out in the corner, it’s still an open question. A hinged drop down may be the answer in the end.
Dave
Interesting and important article, Eric. I would love to know the thinking behind his tearing down the old layout.
There seems to be a nascent trend among modelers, especially we (ahem) older gentlemen, to build smaller, less complex layouts appropriate for one or 2-3 operators. I have seen it on both io groups and FB groups for perhaps the last 18 months. Of course, there are the McNab-types who have done it in younger years, but the trend persists. I would like to hear your comments about whether I’m right.
I will go smaller and simpler after downsizing and moving to California. My spve will be just so big and no more. At first, I was sad at losing my 16×20 San Joaquin Short Line, but now I’m encouraged.
Thanks for the comments, Bill. My thinking behind the layout change was actually pretty straightforward:
1. The old layout (6 scale miles in my 19×19 foot garage) was simply too big and too complicated. I realized I would never finish it.
2. The layout was designed for TT/TO operation and I really needed a minimum of 9 folks to operate it as I wanted. I have two operators I can rely on.
3. Because of the complexity and the garage location, reliable operation remained out of my reach. I never had an op session that went without multiple locomotive stalls. derailments, and other annoying problems.
Finally, the occasion of my 80th birthday in February helped me clearly see that a change needed to be made.
My layout is a branch line with 3 towns containing 5 switching areas. I can keep 3-4 operators busy for about 3 hours in an 18×20 room. I developed a ‘traffic management’ spreadsheet that mimics reality quite well; we move about 70 cars in a normal session. I love watching a session unfold.
We need to downsize to a more favorable climate. I mourn the loss of the San Joaquin Short Line. My two options seem to be 10×20 or 10×13. Two operators at most. I can’t get past all I will lose, all that will fill a dumpster. What to think!?
Long screed, thanks for bearing with,
Hi Dave
I’m wondering if you considered putting the section into the house on wheels as well? It may make it easier to aline and life easier in the long run.
Just my 2 cents!
Looking forward to your progress!
Mark
Thanks, Mark, for the suggestion. How to handle the door opening is still a work in pr0gress. That door isn’t actually a door into the house but rather a door into an atrium. In other words, the door could easily be open during op sessions which might enable some sort of solution as you propose. The advantage from an operational viewpoint would be that I could complete the Y, which would certainly add flexibility to the operations in Saint Marys.