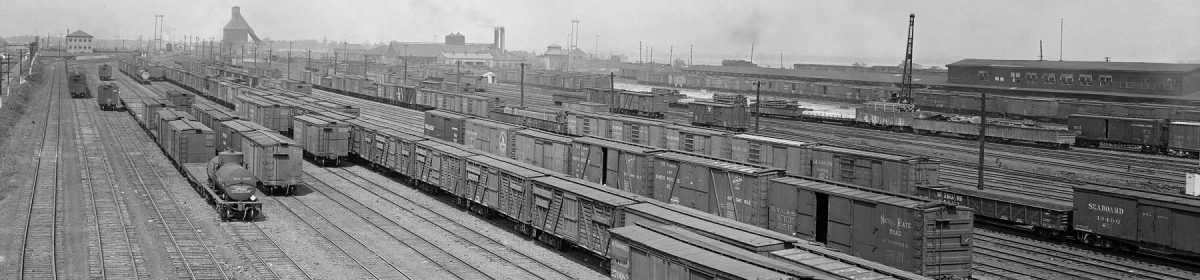
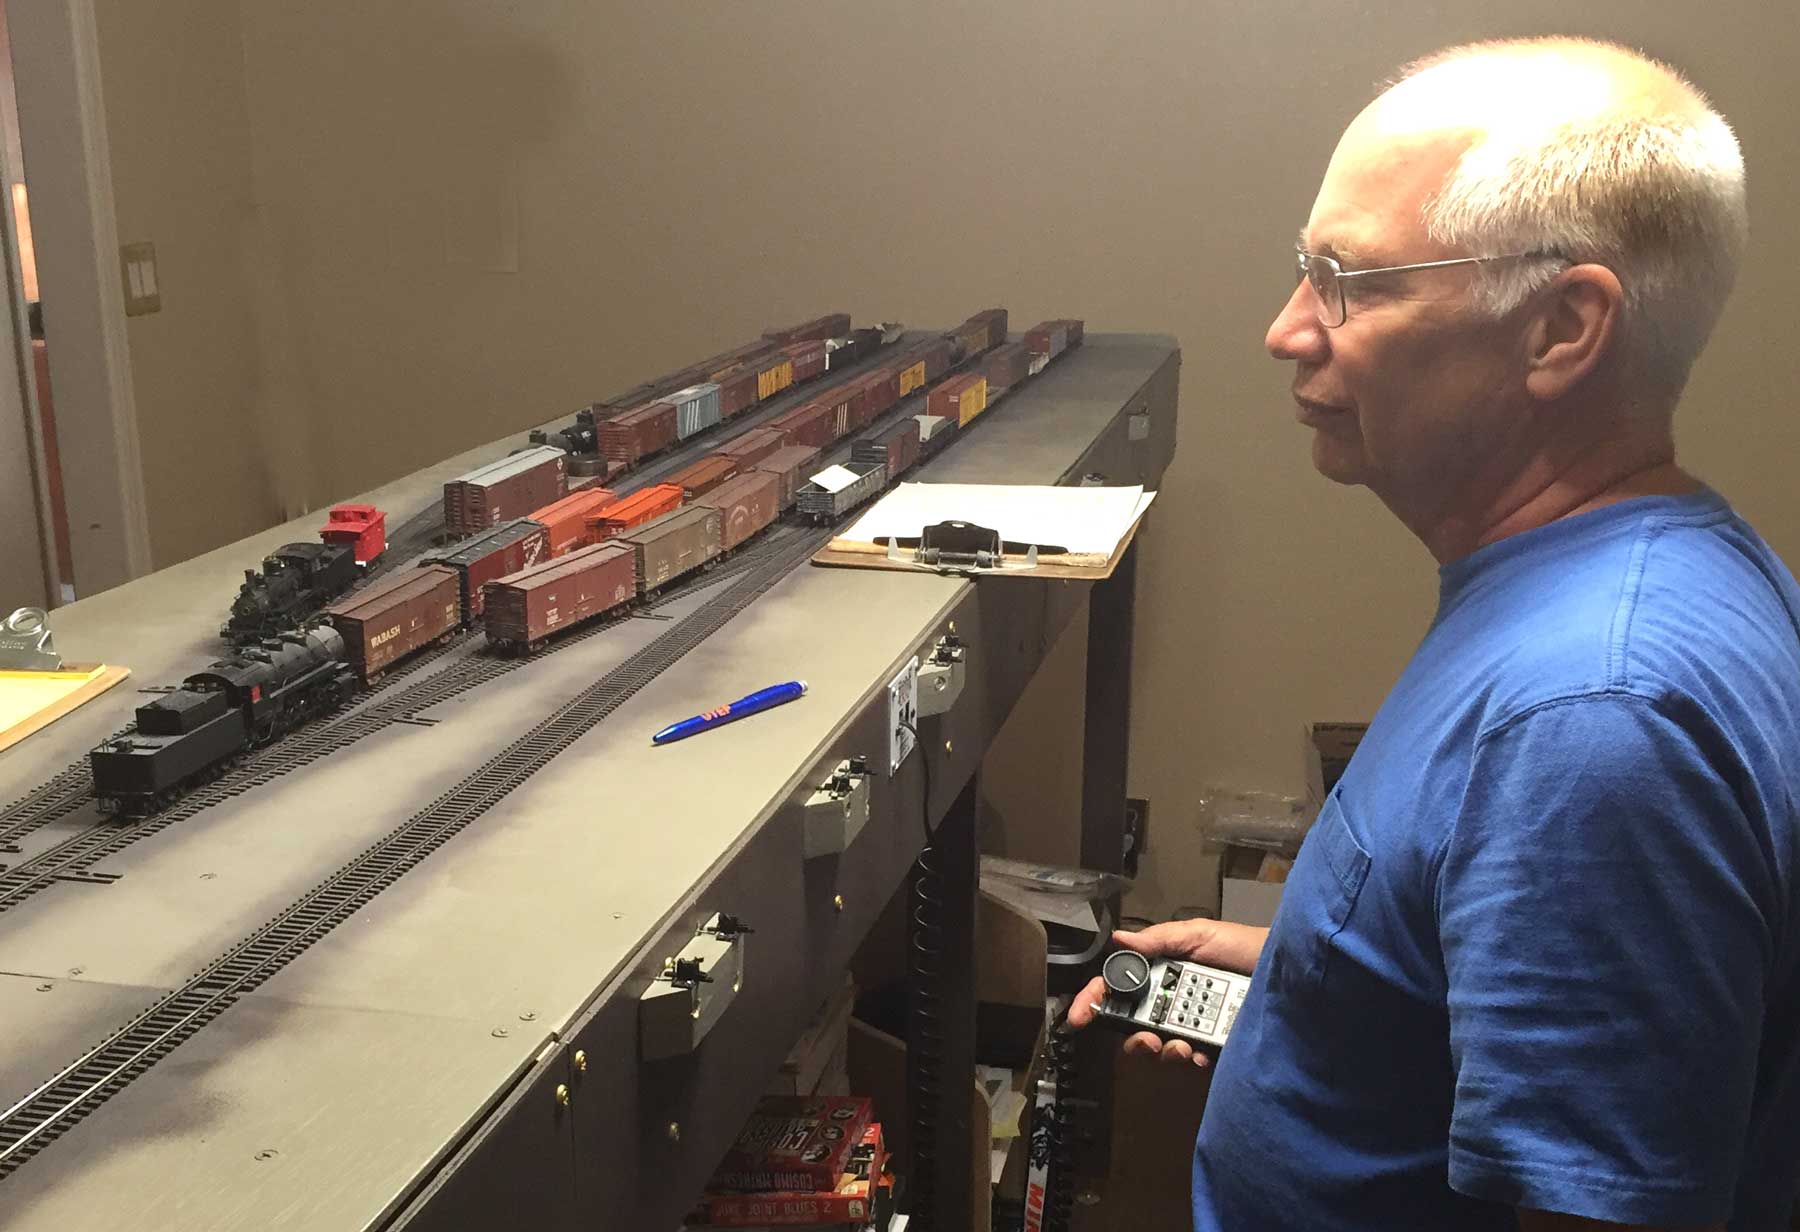
Track installation basics, part 1

the staging yard

As I began installing track on the Baltimore & Ohio Wheeling Freight Terminal model railroad project, I developed a set of processes to prepare track sections for installation. While working through this project, I felt these processes and tips should be posted so readers can benefit from my experiences. I will be running steam locomotives so extra care and attention needs to be taken when installing track for smooth operation.

Rail Prep

Rail joints are common places where derailment problems can occur. I carefully prepare each rail joint. I have seen too many modelers rush through this important step and make a sloppy rail joint. Diesels are forgiving of some sloppy track, but not many steam locos.

Any rails that will be connected more track will need to have the rail ends prepared using a jewelers file and a mill file. If the rail needs to be cut with a motor tool or rail nippers, then the freshly cut rail ends need to be squared up. The image below illustrates what the rail looks like after being cut with rail nippers.  A few passes with a mill file will smooth out a rail end. Click on either of the following images for a much larger size.

cut rail without prep

File the rail bottom lightly to remove any rough edges, then use a jewelers file to add slight tapers to the base of the rail at the end. These tapers ease the installation of a rail joiner. The tapers are the shiny parts at the base of the rail in the image below. This is a completed track section prepped and ready to install.

prepped rail

I also run the file lightly over the top end of the rail and along each side to remove any burrs left from cutting or filing. Once the end is prepped, it can be connected to another rail. I do this with whatever rails have been cut as well as rail on new track right from the box. A little extra care at this stage will ensure better operation later. Keep a brass wire brush handy to clean excess metal out the files when you are done.

If you solder your rail joints, use a wire brush in a motor tool to clean off any oxidation or dirt. A clean surface will solder easier and you’ll be surprised when you don’t melt any ties!

I welcome your comments here. All comments are reviewed and approved before they appear here.

Benchwork section progress

Most recently built.

As mentioned, I’ve been building benchwork sections for the new layout. I’ve employed a uniform design for five sections and all are nearly complete. The image above shows the last two sections. These sections follow some of my layout project rules.

  • Keep it Simple
  • Reuse what is on hand
  • Build to be flexible for future projects

Continue reading “Benchwork section progress”

Moving forward

As has been confirmed on the recent Model Railcast Show, I’ve chosen the Baltimore & Ohio Wheeling Freight Terminal layout design for my next project. Overall the smaller scope of the project just seemed to fit the room better than the sinewy Wheeling & Lake Erie line that winds through industrial Newburgh, Ohio. I do hope to model that line at some point, but this space is just shy a couple of feet in both directions make it work well. The narrow 15 inch benchwork of the Newburgh design meets the railroad operating needs but limits the scenic scope of the urban fabric that is a mutual component of that rail corridor. I will put those ideas aside for now and hope they can be reconsidered in another house a year or two down the line.

Continue reading “Moving forward”