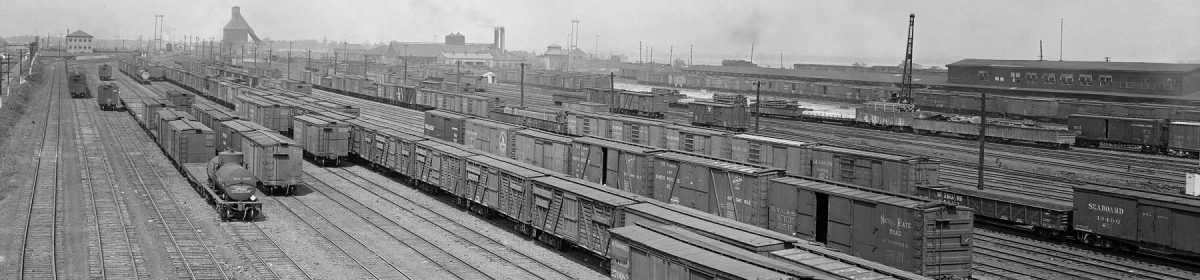

It has been a busy month of work and family visits. One of my step-sons visited at Thanksgiving and enjoyed his El Paso experience. I also began a new job in early November, so a combination of elements has slowed the hobby progress. It is time to offer an update here on the blog, if only to document the forward movement. The lead image offers a view of the first installed trackage on the B&O Wheeling Terminal layout. Click on any image here for a larger view.
My first step in track installation is to solder track switches together that will be connected on the layout, such as crossovers and yard ladders. Jumper wires are then added to improve the electrical and DCC connectivity path between closure and point rails on each track switch.

Soldering is not a favorite hobby task, but when you need to connect many wires to the rails, you need to become good at the task so the work is done quickly and efficiently with a minimal of melting plastic ties. A few distinct steps were developed and followed.
- Clean the attaching points as best as you can
- Use a minimal amount of flux and pre-tin each component
- Keep the tip of the iron clean
- After attaching the parts, swab the area with 91% alcohol to remove as much flux as possible
Returning to the track tasks at hand, a feeder wire was attached under the frog rails to power that isolated stretch. Additional feeder wires were soldered to rails to improve the electrical path. Here’s the underside of a crossover with wires threaded into the layout surface.

Two crossovers and two yard ladders were prepared before installation and fit into place on the layout surface. Here’s one of the yard ladders with the feeder wires attached.

Two pieces of track were prepared to connect the crossover with each yard ladder. After everything fit to my satisfaction, it was time to install these components. I pulled up the connecting track and raised the crossover and one yard ladder so I could spread some caulk on the roadbed to glue the components into place. DAP “Kwik Seal Plus clear kitchen and bath adhesive sealant” was thinly spread along track centerlines, but avoiding the moving throwbar areas of the track switches. The crossover and yard ladder were carefully lowered into place, then the connecting track was added. A can of soup was rolled along the rails to help seat the track into the caulk, then several cans were placed onto the track until the caulk was dry.

Even though I was brimming with excitement, I let this set up overnight then installed the second yard ladder and connecting track the following day using the same methods.

Once the caulk dried clear, the cans were removed and the finished work looked great.

Next, the rails were cut at the layout section joint. This is being built to be easily moved, so cutting the rails now will reduce work when another move comes along. The motor tool made quick work of these cuts. I pulled apart the benchwork sections about an inch and dressed the rails ends with a few files. After squeezing the sections back together and tightening the alignment bolts, a string of freight cars was pushed across each joint as a test. Success was duly noted.

More tracks will be installed soon, then electrical feeders will be soldered to these new rails. Once the feeders are attached, then the connections will be made to the buss wires on the underside. There remain many more tasks to complete before trains will run.
I hoped you enjoyed this layout construction update. Your comments are encouraged. Please follow the directions of the anti-spam program when you leave a comment below. Comments are reviewed and approved before they appear here.
Eric,
Does the DAP adhesive keep the track firmly in place at the section joints?
Glad to see progress and better to hear about the new job…….Congrats!!!
Always enjoy your updates.
Tim Moran
Akron, OH
Hey Tim! So far the adhesive is holding fine. I added a bit more close to the layout edge. These units have also not been taken out of the hobby room or transported yet. My fingers will be crossed for the moment when the layout is moved to a new home.
– Eric
Hi Eric
One thing I do when soldering wires to the points and closure rails is to make the wire a little longer at one end and solder it to the stock rail as well. Ths way the points and closure ails draw power from the stock rails, eliminating some extra drops to the buss.
Scott in Albuquerque
Hey Scott! Thanks for your notes. Those are solid ideas, but newer Walthers/Shinohara track switches have jumper bars spot-welded under the ties between stock and closure rails. Similar jumper bars are also on the far end of the insulated frog. With these electrical connections already a part of the product, that left the cheap rail joiner connection between the point and closure rails as my main concern.
– Eric
Eric, I don’t remember where I learned this, but I don’t trust the manufactured electrical connection tabs to be reliable over the long haul. By adding this one more solder joint per rail, I’ve added a little redundancy to the electrical path. On the diverging tracks from the frog, I feed those from that end, with a soldered rail joiner to the rest of that track, or,in the case of a turnout ladder, with feeders as needed. My bottom line is, I’d rather over-do it during construction, than try and find and fix it later. I’m also building a more permanent layout than you are, so that is also a factor.
BTW, Merry Christmas!
Regards,
Scott
AACK! I’ll cross my fingers.
When I did the crossovers, I had to remove the jumper bars beyond the frog to shorten the rails and keep a two-inch parallel track center. The jumper bars seemed pretty robust and would not remove easily. I will hope for little to no future difficulty on the 17 Walthers/Shinohara track switches that are now installed.
And a Merry Christmas to you, Scott!
– Eric