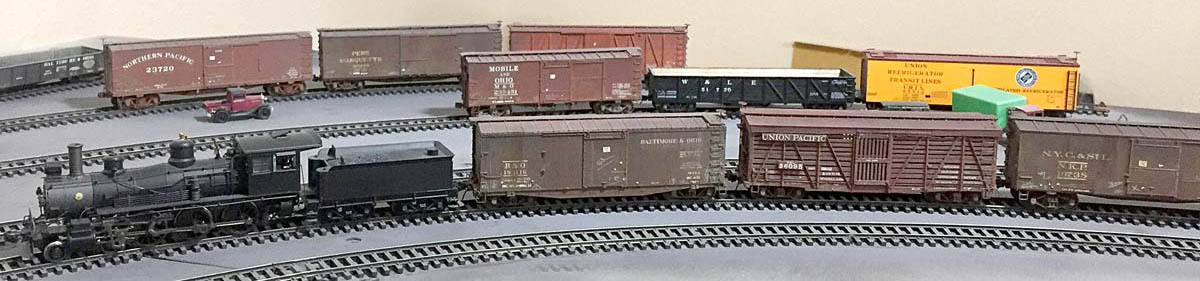

It has been a while since my last post. My hobby activity ebbs and flows and sometimes there isn’t much inspiring a report here. At a recent op session on an HO scale Las Cruces layout, Mike (the owner) noted a need for more box cars. I had recently gone through a few boxes of stored equipment and had found a couple of old kits that were built but not quite completed. He has another op session soon, so I thought it would be good to ready these for service. Details on Mike’s layout were posted earlier.
Both of these box cars reflect prototypes beyond my 1926 focus, but they fit Mike’s 1960 era quite well. Each of the box cars needed a few small details and then weathering applied. Click on any image here to review a larger version.
The first car is a Rib Side Cars kit of a Milwaukee prototype. I think I bought this model at the 2005 Naperville RPM meet and it was built and detailed in late 2005. The cars came lettered but with no car number and I had not added that detail. A proper car number was determined from prototype information and the decals were applied. I also painted a couple portions of the wood running board with a grey paint to imply an unpainted replacement board that had weathered. Once the decals and touch up paint were dry, a light wash was applied using burnt umber, oil-based paint. The model was sprayed with a light coat of Model Master Lusterless flat. Here’s what it looks like after those steps.

Prototype freight cars were periodically weighed and stenciled with the updated information. Crews would paint over the old info before applying the new stencil. Often this new paint did not match the original paint. This is a different kind of detail and one that I had not added to a model before. The decal sheet for this kit had a quarter inch of blank space along an edge. The other lettering was masked off and a portion was sprayed with brown from a rattle can and allowed to dry. The other half of this strip was painted with a redder shade of craft paint and allowed to dry. A coat of gloss was then applied using Future floor wax, an acrylic product with self-leveling properties. Here’s the decal sheet with the strip of paint. Some portions are missing as these were used in the next steps.

A couple of rectangular pieces of the painted decal were cut to cover the numbers on the model beside the LD LMT and LT WT stencils. A couple more pieces were cut for the reweigh date stencil that goes beside the weight data. These were then applied to both sides of the car. The work was allowed to dry completely before adding the new stencils for the reweigh numbers and the location and date info.
The decal sheet with the kit has a few reweigh place and dates but it does not include different numbers for the data. I used a Champ decal set for these portions. After each of the decal steps were set, a coat of Future was brushed on to seal the work and the model was set aside to dry. Once the decals were dry, the model was sprayed with another coat of Model Master Lusterless flat from a rattle can. Apply these coats lightly and dry thoroughly.
Once the decals are complete, a few weathering steps remain. I think of weathering as a number of layers as Mother Nature does not weather the prototypes all at once but over a long span of time. The next step for this car was a light wash of a tan acrylic paint. Once that dries fine powders are used to represent dust and grime. Very fine grey Rottenstone powder was applied along the lower portion of the sides and the sill of the car. Pan Pastel raw umber was used for mud streaks on the car ends. Bragdon black soot is applied sparingly on the roof and upper parts of the sides. Small squares of newsprint are glued onto the route and tack boards to finish it off. The model looks like this after just a little effort.

After taking that photo, I realized I forgot a couple of steps. A cool gray Prismacolor pencil is used to highlight raised areas and to add chalk marks left by yard crews. After another few minutes of work, the car was ready for service. Compare this image with the one above.

While the Milwaukee car was rolling through the weathering factory, another model was also proceeding. When you have to allow time for steps to dry, it’s great to have another model to push through the similar steps. The repetitive work reinforces what you learn and allows for slight modifications.
The second box car is an L&N 1937 AAR box car model offered long ago under the IMWX brand. I believe Red Caboose offers the same box car model today. I started this kit about 15 years ago, possibly a bit longer. The roof and doors were not attached but everything else was complete, so it became another candidate for use on my friend’s early 1960 layout. The reweigh date and data was changed similar to the steps noted above. Here are the steps I followed in bulleted form.
- Initial light wash using an acrylic light tan color.
- Added paint failure spots on the roof with a very light grey paint and a small round brush.
- Painted a couple of boards on the running board to reflect replacements.
- Sprayed the model with a flat finish.
- Installed paint-out decals to cover two lines of data and to cover the NEW date near the data.
- Installed a paint-out decal just above the right truck for the repack stencil.
- Let dry.
- Installed decals for the new data, reweigh location and date, and the repack stencil.
- Let dry.
- Sprayed the model with a flat finish.
- Applied another light acrylic wash but with a light gray pigment.
- Applied raw umber and black powders to represent dust and grime.
- Added chalk marks with a cool gray Prismacolor pencil
- Highlighted raised areas and ladder scuff marks using a cool gray Prismacolor pencil
- Applied small squares of paper on the route card holders and a remnant card on one tack board.
I used a few ideas that Tony Thompson has shared on his blog. Here’s his concluding post that includes links to earlier steps.

Each step is just a small component of the overall finished effort. Nothing here is difficult for anyone who can scratchbuild parts or build any kit with lots of small parts.
I look forward to seeing these rolling on my friend’s layout. It is much more rewarding watching these models in use than sitting in a box. Thanks for stopping by. Your questions and comments can be posted below. Please follow the instructions so your comment comes through. All comments are reviewed and approved before they appear.