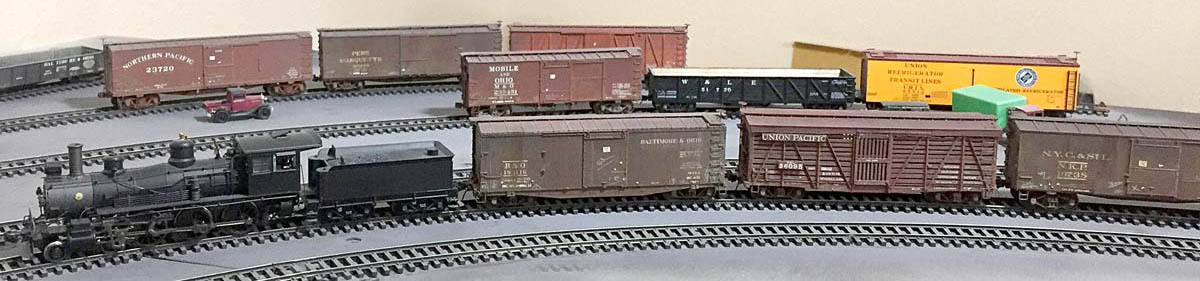
Seven HO scale box cars were recently painted for the Wheeling Freight Terminal. A couple days of warmer weather made it easy to open the garage door and fire up the airbrush. While there are seven cars, only three paint colors were used. I try to paint multiple cars the same color to minimize clean up time and effort. Click on any image here to review a large size.
Vallejo acrylic paint has become my standard hobby paint. An Iwata Eclipse HP-BCS with a 0.5 mm needle and nozzle cap combination was used with 25 psi from the air compressor to paint these models.

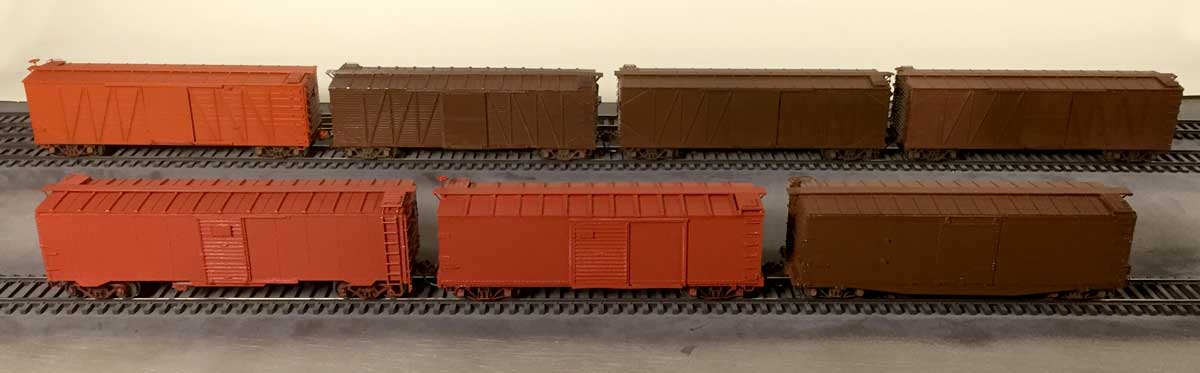
The four cars above are all painted Liquid Acrylic Burnt Umber mixed with 30 drops of Model Air Aged White. The car on the left is a Westerfield Baltimore & Ohio M-13 class, 36-foot, double-sheathed box car. The next car to the right is a Westerfield USRA single-sheathed car with a replacement roof and safety details reflecting a post 1938 rebuild. This will be decaled for the Western Maryland. The other two are Tichy Train Group USRA single-sheathed box cars with original details and will be decaled for the Western Maryland and the Baltimore & Ohio with the as-built lettering style.
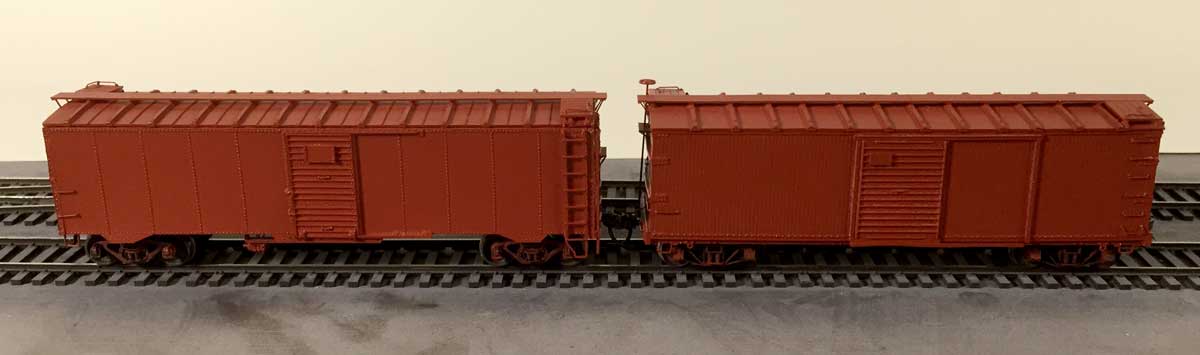
These two cars are Funaro & Camerlengo resin kits. At the left is a Canadian Pacific steel-sheathed Minibox and on the right is a Reading XMp 36-foot, double-sheathed car. Both of these models were painted with Model Air Scarlet Red with no additional color.

This last model is another Tichy USRA single-sheathed box car that will be lettered for the Pennsylvania. Model Color Amaranth Red was the main paint with a few drops of Model Air Rust and Model Air Scarlet Red added to cut the brightness of the orange. My focus is 1926 and the PRR freight car color was more orange than red at this point in time.
With all of these models, the paint dried for a couple of days before a gloss coat of Future/Pledge acrylic floor finish was applied with the airbrush. Decal application should commence soon!
Blog note
I enjoy sharing photos, tips, and techniques here on the blog. Taking photos and writing text has become much less of a chore than it was a few years ago. What can be a chore is figuring out software updates that have gone awry. I am adding this so others who blog or are considering a blog may understand there is more to it than what you see.
Just before Christmas there was a WordPress update to install on my blog, so I clicked on the update button and went back to the workbench for a few minutes. I returned to a white screen and an odd FATAL ERROR message. The blog was still there and visible, but my access to the administrative functions had disappeared.
After hours of research and posting questions to help sites, I found a possible fix. Earlier today, I spent a few hours sweating over the fixes and was successful. It seems the original update did not execute fully and I had to replace some software the files with fresh versions from a new download. What a harrowing experience. I think I went ten minutes deleting and moving files without taking a breath. I am happy that incident is now behind me.
Thanks for stopping by and reading the latest post. 2016 will kick of with a really cool guest piece and we will see where we go from there!
Feel free to share a comment in the section below. Please follow the instructions so your comment can be posted. All comments are reviewed and approved before they appear.
Hi Eric:
First of all, happy holidays and best wishes for the new year. I enjoy following your blog and look forward to more posts.
I had a similar experience with WordPress a couple of years ago. I lost everything. Fortunately, a reader had been following my posts via RSS and was able to access an XML version of them, so I was able to restore all the posts (although not the comments).
My golden rule from that lesson is, before installing any updates, do an export of the entire blog. There’s an export function under “Tools” in my dashboard. It’ll save as an XML file with the date as part of the file name. It only takes a couple of minutes – and WordPress should really be making that part of the update function (not necessarily automatically, but maybe as a check-box that says, “I have exported an XML file of this blog” that one has to tick before the update button goes active – similar to a software licence agreement – as a reminder to users that they should do that.)
Cheers!
– Trevor (Port Rowan in 1:64)
Thanks for the tip, Trevor. I do save the XML back up on ocassion, but I really should do that before an overall WP upgrade. – Eric
I should add that I too am loving Vallejo paints. I use them extensively for weathering, because they spray well, they dry dead flat, and hey – they’re camouflage colors, which means they’re ideal for duplicating mud, dirt, dust and other environmental effects. I also like to use them for brush-painting figures for my layout, and for airbrushing some variation into static grass.
Cheers!
– Trevor (Port Rowan in 1:64)
Hi Eric
Thanks for sharing you modeling adventures. I was wondering what you use to clean your airbrush after spraying the Future floor polish?
Ken, I use 91% isopropyl alcohol for all airbrush cleanup. The Vallejo paints are acrylic and so is the Future/Pledge floor finish. – Eric
Eric;
I sprayed a Westerfield resin box car with Poly Scale acrylic paint. Can I use Floquil enamel gloss coat over the acrylic for decaling???
Joe
I have no idea, Joe. I’ve not used either product in an airbrush. I would think it would be okay to spray the enamel gloss over the acrylic paint coat, but I would allow a couple days for the decals to dry before spraying the gloss coat. – Eric
Hi Eric,
I was wondering; since you’re using Vallejo paints, how do you know if the reds you’re using on the various cars is correct? I ask this since Vallejo doesn’t stock any specific US RR colors? I’m trying to import (I’m in Europe) the TruColor paints since they offer various US RR specific red’s and browns. At least I hope they are… Thanks for your reply.
best regards, Fred Jansz
Thanks for the comment Fred. The short answer to your question is this. I really have no idea what exact shades of red or brown that railroads painted rolling stock in the Teens and 1920s. There are no color photos to study. I’m relying on early 1940s color images and hoping a guess that mineral brown and oxide red shades did not change much in the previous 20-25 years. We have some ideas of specific paint railroads specified on some freight cars of that earlier era. Believe it or not, paint companies like Glidden or Sherwin-Williams did not name their paints after railroads that used a bunch o their product. I also don’t think the shade was exactly the same on every freight car of a single railroad in any given year. So I don’t fret over not matching the color I use on a box car to an old bottle of Polly-S or Floquil Box Car Red. I also weather my models, which alters the paint shade, so I only try to get close to the color shade I want.
If we could add up all of the hobby time wasted by all the model railroaders fretting over using or finding an exact shade of Southern Brown (or whatever) on their rolling stock, I’ll bet a dozen decent layouts could have been built. We have worried too much over something that has been a moving target for decades. Work with the color, not the names on the bottle. – Eric
Eric,
I’m only now seeing this post on freightcer painting. One question:
Do you thin the Future/Pledge or apply it full strength?? Also- what do you clean your airbrush after using the Future??
Vince, I use Future at full strength with no problems. The airbrush cleans up great with 91% isopropyl alcohol. – Eric