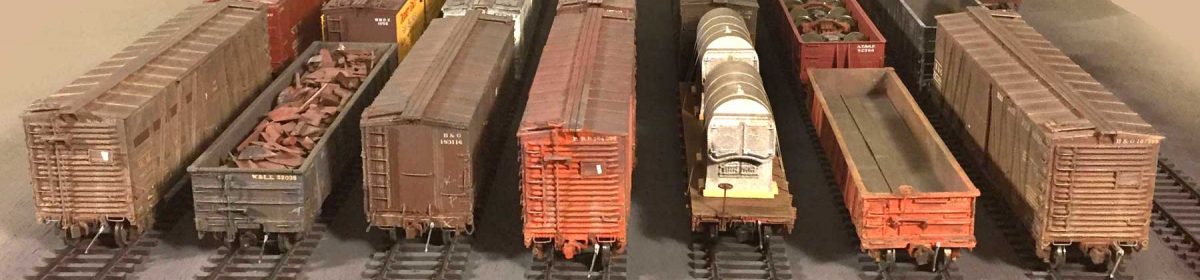

I fielded a couple recent questions concerning how I build resin kits. One question was repeated among a few different people in regards to prepping the small resin kit parts. Many kits come with a sheet of parts similar to that seen in the lead photo. How are those prepped?
Basically, I cut out a part or two from the parts sheet that includes some of the flash. I then sand that part until the flash is paper thin and easy to remove. Don’t remove all the parts from the sheet at once. Only remove what you need to install in the next step of the instructions.
Here’s a two minute video that covers the process. The volume is a little low, so you may want to boost your speakers a bit.
I try to sand these parts outside and I wear a mask. The fine resin dust is not good for your lungs. Some modelers have developed allergies to the resin material. Be smart when working with the material.
Real small parts are difficult to sand easily. Sometimes I wear a nitrile glove that grips the small part to ease the sanding process. In some cases, I closely trim around the part. Once you work your way through a few resin freight car kits, you become accustomed to prepping the parts and removing the flash.
I hope these tips inspire you to make progress on a couple of resin freight car kits!
Thank you for visiting my blog. You can share a comment in the section below. Follow the instructions so your comment can be posted. All comments are reviewed and approved before they appear. Please share the blog link with other model railroaders. To subscribe to this blog, add your email address to the function at the bottom of the right column on the main page.
Hmmm… 320 grit? I think I was using 150, but I can’t claim “skill” at separating parts from backer sheets. I have that sheet of sandpaper glued to a stone (not ceramic) tile, so it’s pretty much guaranteed flat.
A couple questions: (1) how often do you have to replace the sandpaper? Does it wear out very fast? (2) what happens when the parts+backer sheet aren’t level? I’ve seen this problem on several kits from one particular manufacturer (who will remain nameless), where one side of the sheet of parts of much thicker than the other side.
David, I was using whatever sandpaper I found first! I know some people use even finer grit paper but that usually makes the process take longer. I don’t glue the paper onto anything. The board in the video is a piece of 3/4-inch birch plywood. It may not be a dead flat as a ceramic or stone slab, but it is lighter and easier to carry outside!
To answer your questions…. (1) I don’t know how often I replace the sandpaper. It’s probably months but it’s also not constantly in use. (2) I’ve been fortunate to not have the experience of sanding parts from an unlevel backing sheet. I’m sure those are out there, but I haven’t found one yet. And no, I don’t want any of those showing up in my mailbox! – Eric H.
Very interesting and simple
It inspires me to start the kits I have but we’re afraid to start
Glen, that’s what the post was meant to do! Get started! – Eric H.
Fantastic! I was hoping to hear more details on how this is done after we chatted about it. The video is magnificent. Still trying to make the time to get into some of my kits but this is going to be key to getting going. Thank you!