
Last week I shared disappointment after completing an underframe and realizing a major error. The image is above and the KC brake system is on the wrong side of the centersill. It is pointed in the proper direction, jut not in the proper location.
After writing up that blog post, I put the underframe into a sandwich bag and slipped it into the freezer for a couple of days. Apparently, the freezing temps weaken the bonds of cyanoacrylate cement (CA). This is something I had heard awhile back and thought it was a good time to experiment. I had nothing to lose.
After time in the freezer, the parts easily pried off of the underframe casting leaving no damage. After filing and scraping away old CA, the part was ready for another go around. This time I triple checked my work.

I thank the readers who posted comments on the last post. I figured I wasn’t the first person to flub a brake installation. I was rushing and I made a mistake. I’m trying to complete the assembly of this model to display at the RPM Chicagoland event next week.

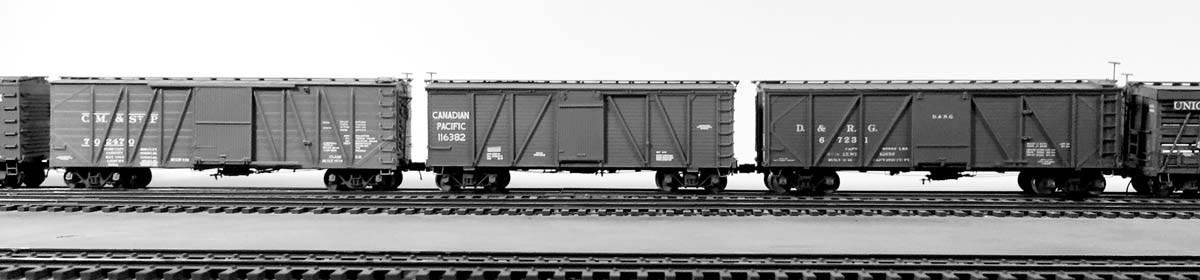
This is a C&O 36-foot ventilated box car that a friend has created. He wanted to make a few for his own layout and did not want to fuss with installing individual grab irons and doors, so those are cast onto the sides. Ladders will be installed on the ends.
Car weight, trucks, and the roof were all installed today. The car body is only sitting on the underframe for the moment. I want the adhesives to fully set up before the box sealed up. Coupler installation will follow

While cement was setting during the ventilated box car assembly, a few final details were installed on the Western Maryland coal hopper. Click on any image here to review a larger size.

The final parts to install were a fulcrum and brake lever for the brake cylinder. A short piece of styrene channel, a freeform triangle of styrene, a bit of wire for the pivot point, and a long brake lever from a Tichy brake set finished the final detail. As usual, it was more difficult thinking out the process than actually installing these parts. This will end up being the guideline used to detail many future hoppers.
There are several tasks to complete for the upcoming RPM. It’s going to be a busy week but these two projects have been pushed beyond the difficult stages and I am relieved.
Thanks for dropping by and reading the blog. Share a comment in the section below. Please follow the instructions so your comment can be posted. All comments are reviewed and approved before they appear. To subscribe to this blog, enter your info for a comment and check the last box to notify of new posts by email. Please share the blog link with other model railroaders.
Congrats on a successful rework.
Thanks Bill! – Eric
Great advice as always.
Sometimes when I’m adding details like those angled supports on the brake platform I use paper strips. I find it easier to cut and bend than plastic strip, which always seems to break when I bend it. Super glue in place, then simply paint, or for more rigidity, coat with superglue and then paint.
I’ve done similar for brake levers and the like as well: if I have a scale plan I just make a copy, cut out the lever shapes with miniature scissors and coat with super glue after placement. These details are unlikely to be jarred so they are pretty safe.
OK, can’t resist this one any longer — the putting it in the freezer thing : Cool idea! 🙂 [insert groans here]